Managing and Customising Appointment Types
Before you begin
Procedure
-
Open the Appointments module by either:
- Clicking

- Selecting
- Clicking
-
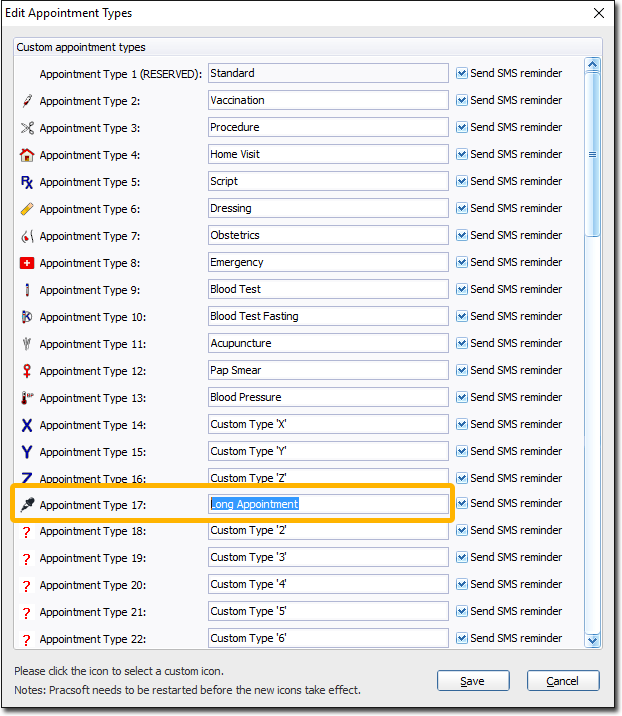
From within the Appointments module, select . The Edit Appointment Types window appears.

- You can edit the text for any of the pre-defined appointment types, except for the 'Standard' type.
- You can create up to 39 custom appointment types. Appointment Type 1 "Standard Appointment" cannot be edited. Continue to Step 3 for instructions on how to customise appointment types.
- For each appointment type, indicate whether patients scheduled for such will be sent an SMS Reminder message.
-
To customise an appointment type, click the

icon associated with the appointment you want to edit. The Select Icon for Appointment Type window appears.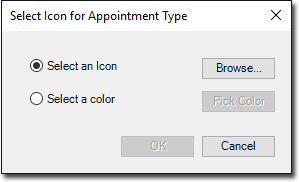
-
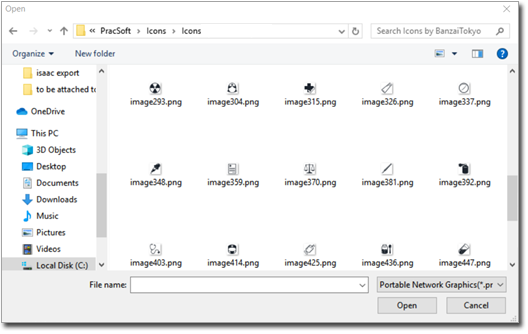
Select either an icon on your computer or a colour swatch to represent the appointment type. In our example, we have elected to use an icon.
- The icon format can be Icon (.ico), Bitmap (.bmp) or Portable Netowork Graphics (.png), but must be 16 x 16 pixels.
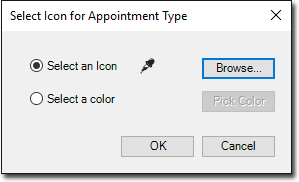
-
You will be returned to the Select window. Note our chosen icon is visible on the window.
-
Give your custom appointment type a name.
-
Click

to confirm your modifications.