Configuring Automatic Updates on the Server
Configure your server computer to detect and download updates to MedicalDirector Software Applications.
Before you begin
The update process will not interrupt users working in MedicalDirector software on their workstation.
About this task
This step involves telling your server computer:
- Whether or not you want it to check for updates
- How often you want the check to occur
- When you want the download to occur
On your Server Computer:
Procedure
-
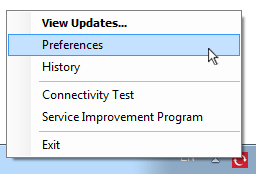
Locate and right-click the
 MedicalDirector Automatic
Update in your Windows
System Tray.
If the MedicalDirector Automatic Update is not active, on Microsoft Windows 8.1 and Window 10, select Windows key
MedicalDirector Automatic
Update in your Windows
System Tray.
If the MedicalDirector Automatic Update is not active, on Microsoft Windows 8.1 and Window 10, select Windows key and enter Automatic Update.
 -
In the menu, select Preferences.
-
Click Browse to locate and select a location on your Server
to save the downloaded files to.
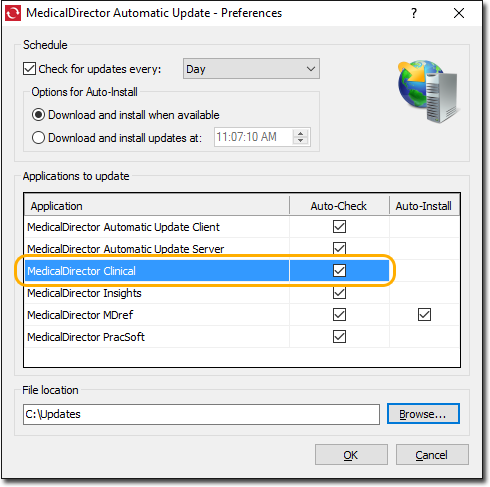
Note:This cannot be a shared location such as \\My_Shared_Folder or any network resource.