Recording Visits - Multiple Patients
Issue an account where more than one patient's visit is recorded on the same account.
Before you begin
This facility is available for patients who have the same payer and who are visiting the surgery at the same time - typically used for family visits.
Note:
This process is only available for private accounts where a
patient is billed and cannot be used for bulk billing, or accounts billed to other
institutions.
See 'Issuing Accounts/Receipts - Private Accounts' for detailed information about billing private accounts.
Procedure
-
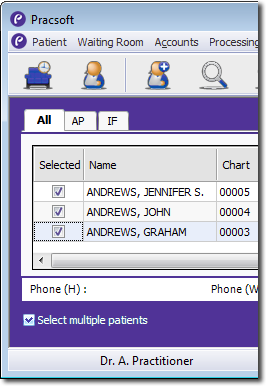
Within the Waiting Room, tick the Select Multiple Patients check box, which is located towards the bottom-left of the window. A new check box will appear to the left of each patient record within the Waiting Room.
-
Within the Waiting Room, select a patient's record, and either:
- Select
- Press F5,
- Click

at the bottom of the Waiting Room window, or - Right-click the patient's record and select Record Visit from the menu that appears.
-
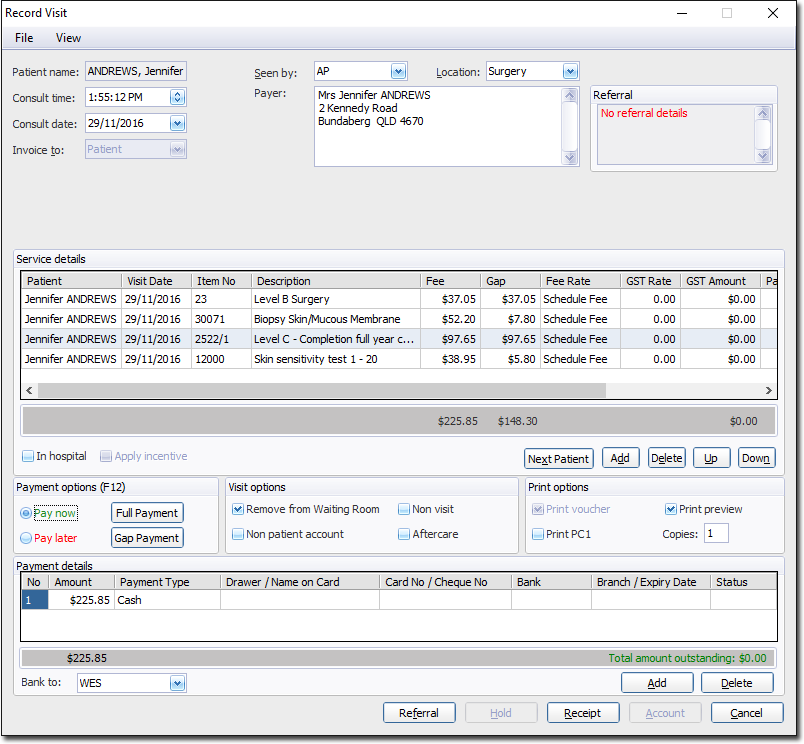
The Record Visit window appears.
-
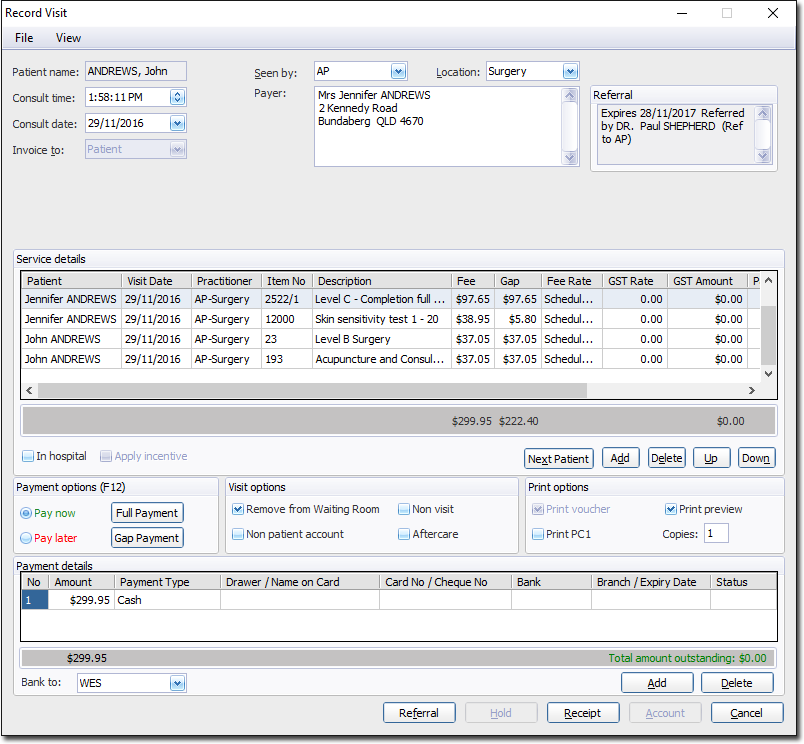
When you are ready to record the visit for the next selected patient, click

Record their visit as you would a single patient, private account. Notice in the following example how John Andrews is the second patient, but both his and Jennifer's service details have been recorded in the same window. John has even been seen by a different practitioner. This process assumes that for each patient, you are billing them for a single visit. However, you may want to indicate that a given patient is being billed for multiple service items over multiple visits. To indicate a different visit date for the current patient, select (or press Ctrl+N). A date field is added to the window, allowing you to manually specify the visit date.