When you open Pracsoft
for the first time you will be prompted to create a new letterhead.
Procedure
-
When prompted to add a letterhead, click OK.
-
In the Letterhead Design window, click Add
New.
-
When prompted, add a name for the new letterhead and click
OK.
-
The name of the letterhead now appears in the Name section
as well as the Letterhead Items section.
-
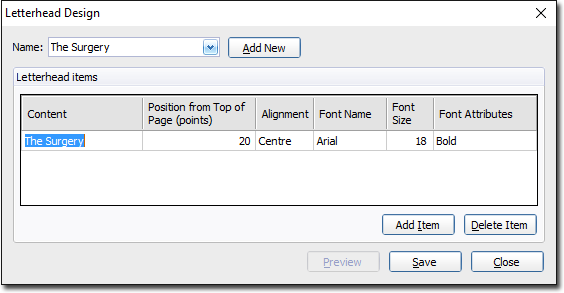
The Letterhead Items section is the area in which you design your letterhead. In the example above we can see that:
- The first line of text to appear on our printed letterhead will be
The Surgery.
- This text will appear 20 points from the top of the page.
- The text will be centre-aligned.
- The font used will be Arial with a size of 18 points and displayed in Bold.
-
To add a new line to your letterhead, click Add Item.
-
Add text for the next line of your Letterhead: edit the position, alignment and
font style to suit.
To delete a line, select and click Delete Item.
-
Continue adding and editing lines until you have completed the letterhead.
-
Click Save.
-
To preview your letterhead in, click Preview.
-
When you are happy with the letterhead design, click
Close.
Results
The letterhead is applied to letters created by the practice.
What to do next
Letterhead details can be reviewed and edited later via: .