Exporting Demographic Data
Before you begin
Procedure
-
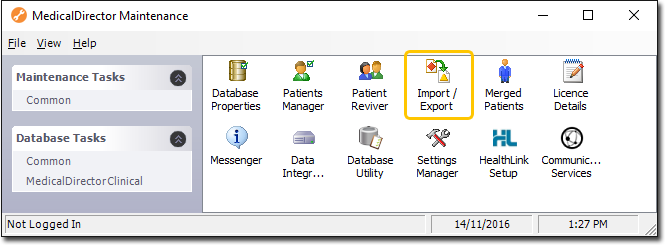
Locate and double-click the MedicalDirector Maintenance icon

on your desktop. The MedicalDirector Maintenance window appears. -
Select the menu item.
-
Double-click

(Optional) If this is the first time you have tried to access Import/Export during this session of working in MedicalDirector Maintenance, you will be prompted to select a Configuration, and enter your Username and Password. -
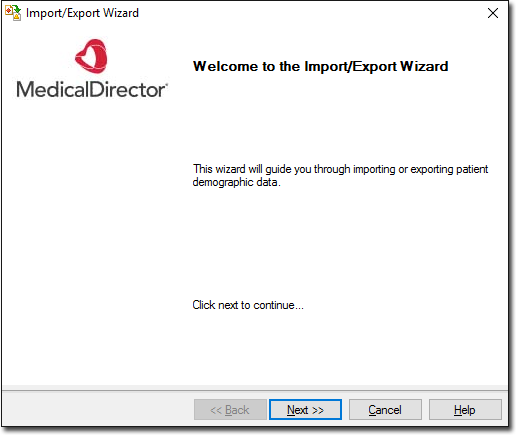
The Import/Export Wizard appears.
-
Click

to continue. -
Select the Export option and click
to continue.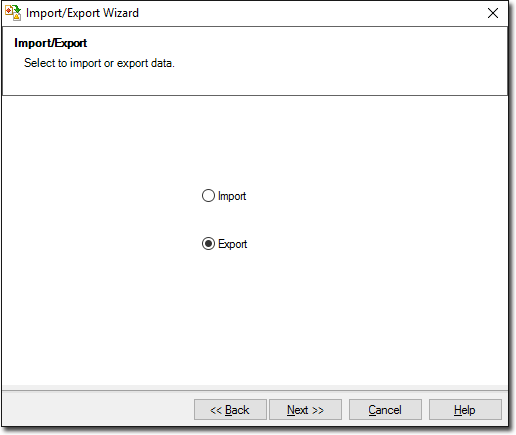
-
The Data Type window is displayed. Select the Demographic option and click
to continue.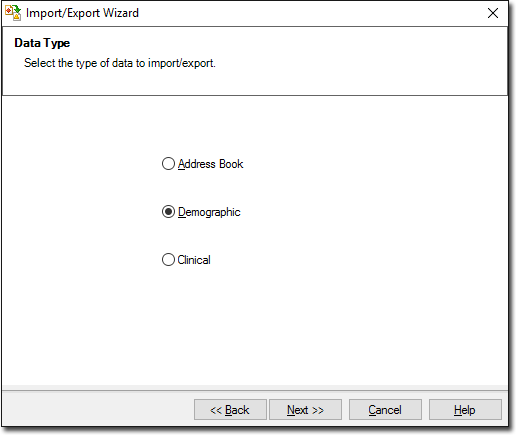
-
The Format window is displayed. To add or edit the file format, select the file to edit and click

or
To delete the file format, select the file to delete and click
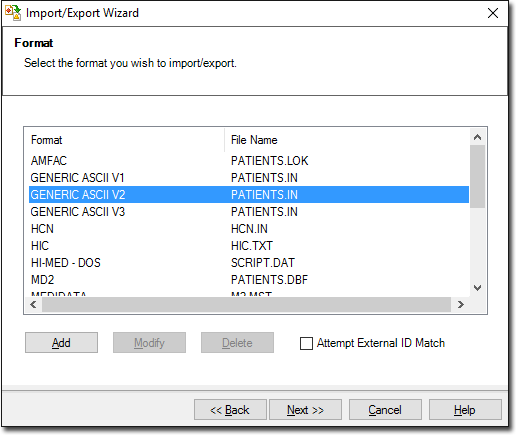
-
(Optional) You can add your own file formats or edit existing ones. When adding or modifying the file format, the Format window is displayed.
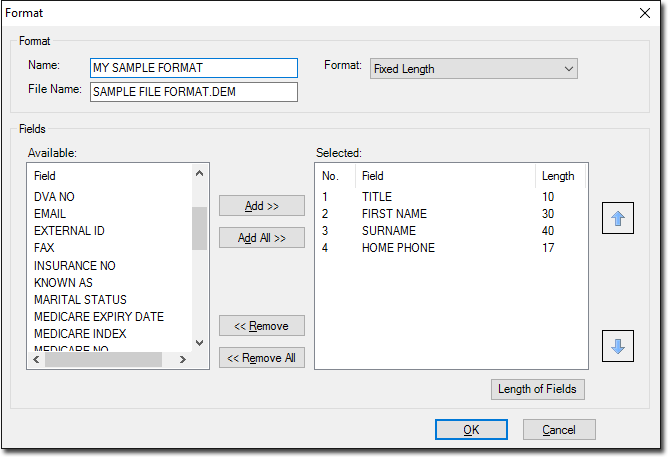
- Enter a name for the file format.
- Select a format style from the Format drop-down menu. Such styles include 'Comma Separated' and 'Tab Delimited'.
- Enter a name for the file. Notice that you must include a three-character file extension.
- Select which fields you want to include from the Fields menu.
- Click the up arrow or down arrow to control the file format as appropriate.
- Click the Length of Fields button to manually configure the length of each field to be exported.
- By clicking and dragging each of the blue field divider lines, each field width can be resized to suit your needs. See below
- By clicking

you can select a file that you already have access to and use it as a template for the format you are creating, as indicated following. The area marked in red (following) indicates a the amount that particular field has been resized. See below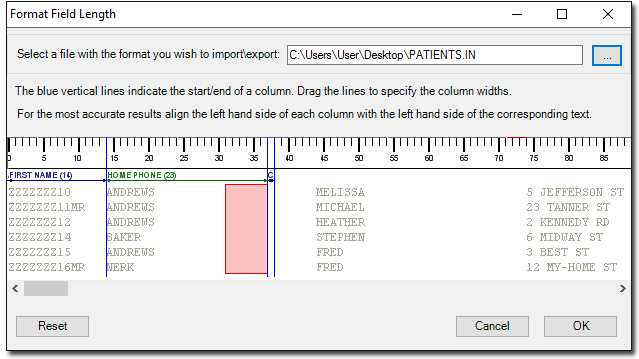
-
The Select Patients window is displayed. Enter a Search criteria for the file format. Click

to select all available names and categories . The Export File window is displayed. OR Click
to clear names and categories. Click
to continue. The Export File window is displayed.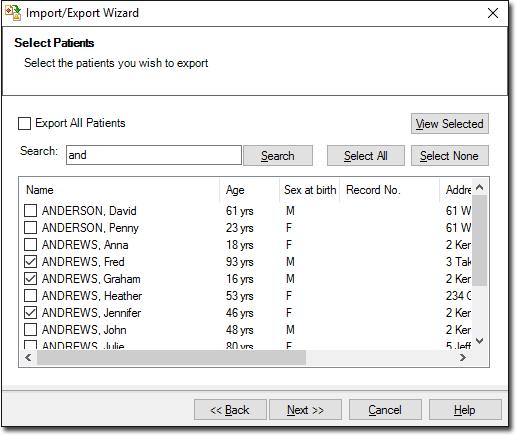
-
Accept or change the file name using
Click
to continue.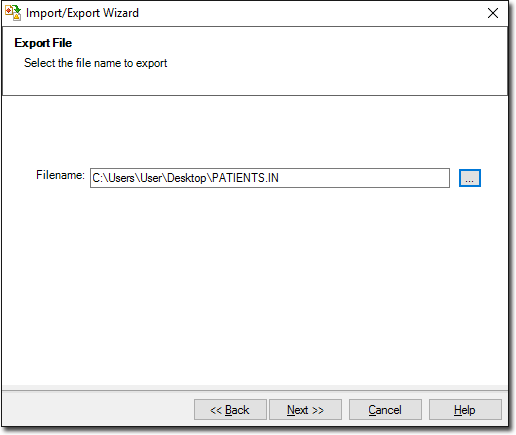
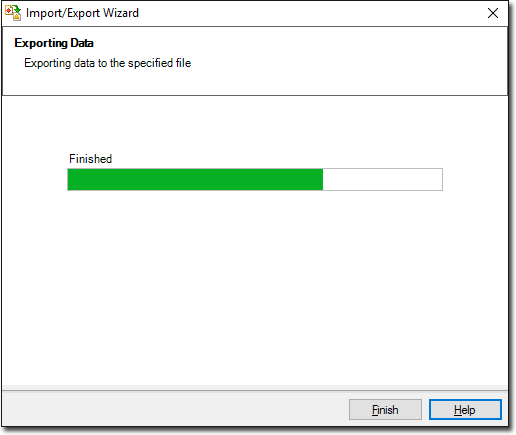
-
The Exporting Data process begins. You will be notified upon completion.
-
Click

to exit the export wizard.Importing into Clinical/Pracsoft